
When buying a bell tent for the first time you will hear that you have to ‘weather it’. You might be thinking ‘do I just set the tent up in my backyard and leave it there until it rains?’ As a simple explanation, yes. When you first buy a bell tent, there are little needle holes from the sewing of the tent that water could potentially get in. How do you fix it? Weathering is all about reducing the size of these holes by adding water. This causes the material to contract and the thread to minimise – which means no more holes!
To effectively weather your tent, we suggest the following:
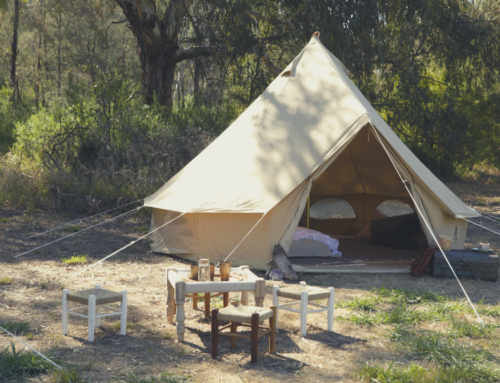
1) SET UP THE TENT
Pretty easy right? We have a whole blog dedicated to setting up your bell tent, so that should help you finish this step.
Set up the tent outside and away from where you entertain guests or your children play as the tent will need to be set up for a few days. But how do you get it to rain?
2) DO A RAIN DANCE, OR USE YOUR HOSE
The good news is, you don’t have to wait for the sky to open up, you can just use a garden hose.
Get out your hose and completely soak your tent – focus on the seams. Allow a good five minutes of strong water from your hose until your tent is saturated. If you see an area where there are any holes, concentrate on that area. Now, let your tent dry completely.
3) RINSE AND REPEAT
Just like shampoo, you’ll need to repeat Step 2 at least two more times. Every time you soak the tent, the tent needs to be dry before you start again. Hence why we said the tent will need to be set up for a few days!
4) TEST RUN
Your tent should now be waterproof – hooray! You have naturally filled the holes in your tent and it’s time for the real test.
Give your tent a test run. Sleep in the tent for a night, ideally a night where there is supposed to be rain, but if mother nature is not on your side – get someone to soak the tent from the outside before you go to sleep. This is a sure-fire way to see if there are any missing spots, as you’ll feel the water coming through if there is. If you do feel a leakage, DO NOT pass go – and head to step 5.
5) SEAL THE SEAMS
You might feel like a failure, but don’t stress! There is an easy way to fill any small gaps in your tent.
A product that is great for proofing canvas is Stimex. It comes in a spray or liquid form and will seal the seams of your tent and add an extra layer of waterproof coating.
Alternatively, you can try the old fashioned way! Get an unlit candle and rub it along the seams that are leaking. This will provide a coating to repel the water.
CONGRATULATIONS! YOUR BELL TENT IS NOW WATERPROOF
Happy Camping!

